














Why Go Tankless for Your Under-Sink Water Filter?
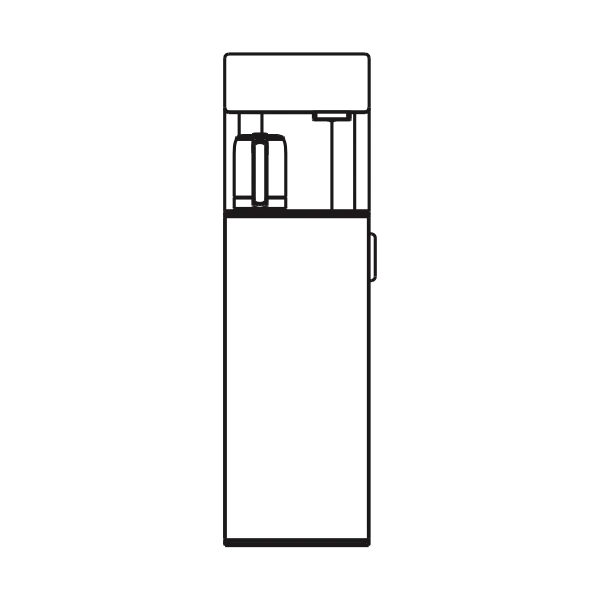
I believe you shouldn’t have to sacrifice your entire cabinet just to get clean water. Traditional reverse osmosis systems rely on bulky, pressurized storage tanks that take up massive amounts of space and carry a risk of secondary pollution as water sits stagnant. By choosing a tankless reverse osmosis installation, you are upgrading to a leaner, safer, and more efficient way to hydrate.
Space-Saving Design for Busy Cabinets
Our tankless systems are engineered to reclaim your kitchen storage. The compact, slim profile is a game-changer for modern homes.
- Save 70% more space: Without a massive tank, you finally have room for cleaning supplies and organizers.
- Integrated Waterway: We use a one-piece internal design that eliminates dozens of connection points, which means a much lower risk of leaks under your sink.
- High Flow RO System: Get the performance of a professional setup with 600 GPD or 800 GPD capacities, providing a fresh cup of water in as little as 6 seconds.
Health Perks of 0.0001-Micron Filtration
Purity is the core of our technology. While standard filters might miss microscopic contaminants, our 0.0001-micron RO membrane acts as a total barrier against the things you don’t want to drink.
- Precision Filtering: Effectively removes heavy metals, PFAS, fluoride, and arsenic.
- Eco-Friendly Efficiency: Our systems offer a superior 2:1 pure to drain ratio, wasting far less water than traditional units.
- Freshness on Demand: Because there is no storage tank, the water you drink hasn’t been sitting in a plastic bladder for days.
Real-Time Monitoring with Smart Faucets
Stop wondering if your filters are still working. I’ve integrated advanced sensors into our systems to give you total transparency over your water quality.
- Smart Faucet with TDS Display: See your Total Dissolved Solids levels in real-time right at the tap.
- Filter Life Indicators: Color-coded lights notify you exactly when it’s time for a change.
- Tool-Free Filter Replacement: When the light changes, our twist-and-pull design allows you to swap filters in 3 seconds without turning off the water supply or using a single tool.
Essential Tools and Materials for a Seamless Installation
Before you dive into how to install under sink water filter system, we recommend gathering a few standard household tools. Having these on hand ensures your DIY water filter install goes smoothly without mid-project trips to the hardware store.
Standard Household Tools Required
- Adjustable Wrench: For securing the feed water adapter to your cold water line.
- Power Drill & Bits: Necessary if you need to create a new hole in your sink or countertop for the smart faucet.
- Screwdriver: To mount the system housing or secure the drain saddle.
- Tube Cutter or Utility Knife: For making clean, square cuts on the PE tubing to ensure leak-free quick-connect fittings.
- Flashlight: To improve visibility inside the dark corners of your kitchen cabinet.
- Teflon Tape: To provide an extra layer of leak protection on threaded connections.
What’s Inside the DripLife Box
We provide almost everything you need to transition from a basic water filter vs purifier to a high-performance RO system. When you unbox your unit, you will find:
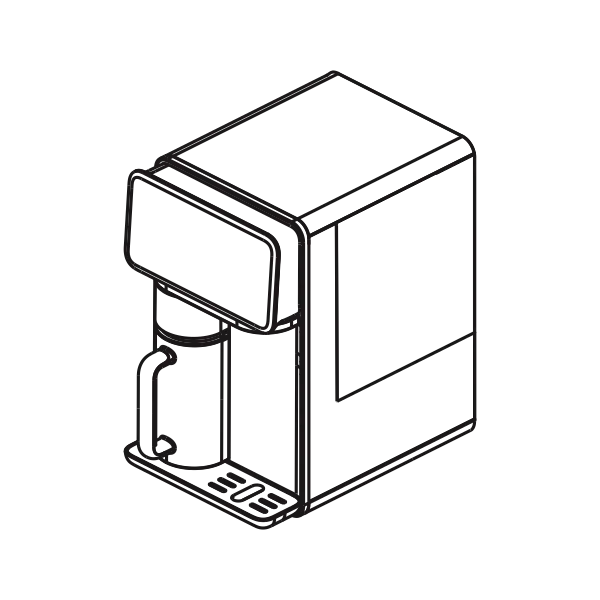
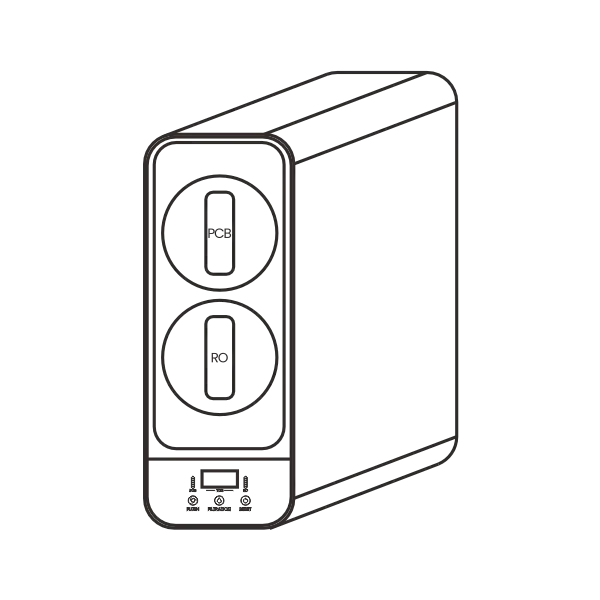
- The Main System Housing: Featuring our leak-resistant integrated waterway.
- High-Precision Filters: Typically a combination of CF, RO (0.0001-micron), and CB filters.
- Smart Faucet: Equipped with a TDS display and filter life indicator.
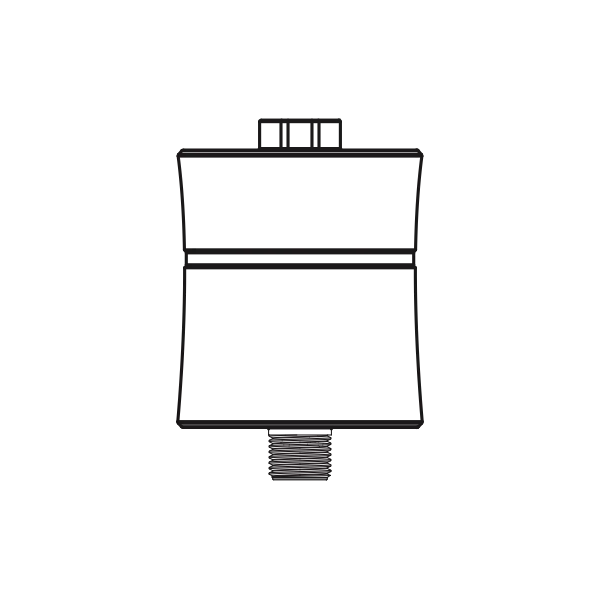
- Feed Water Adapter (T-valve): To tap into your existing cold water supply.
- Color-Coded Tubing: Simplifies the “In,” “Out,” and “Drain” connections.
- Drain Saddle: For connecting the system to your sink’s wastewater pipe.
By organizing these components on your cabinet floor before starting, you ensure the assembly is efficient and the under sink leak prevention measures are easy to follow. Knowing the difference between the various components helps you appreciate the engineering behind our high-flow, tankless designs.
Preparation for Your Under Sink RO System Setup
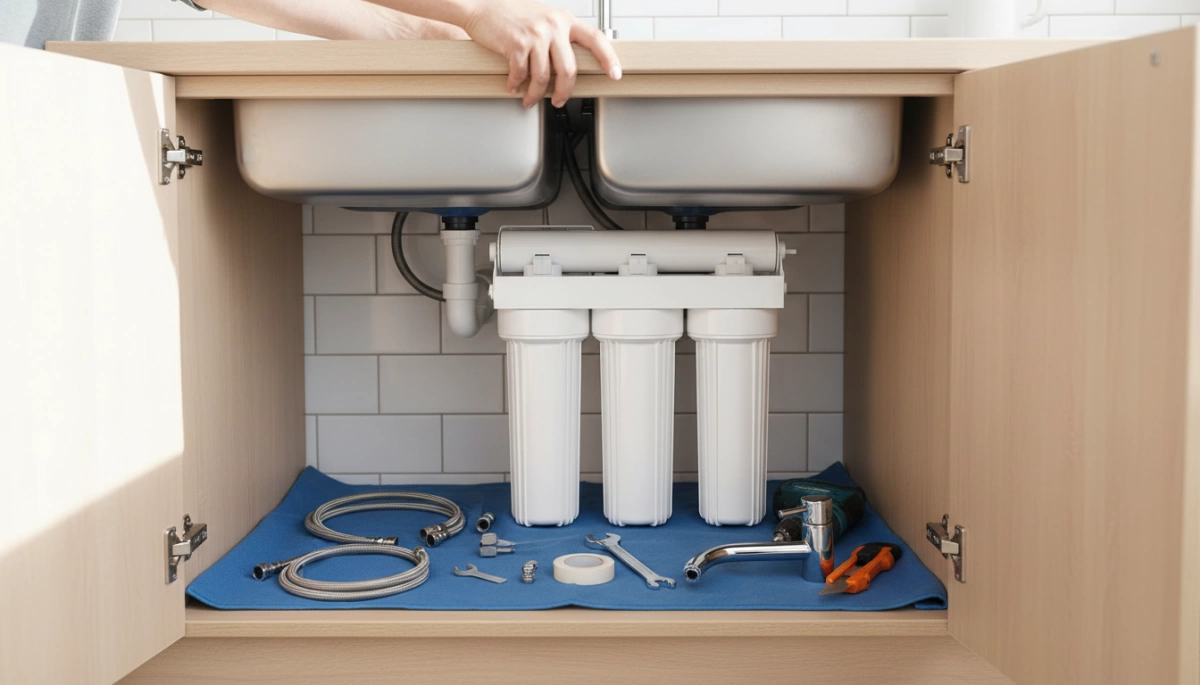
Before starting the how to install under sink water filter system process, taking ten minutes to prep your workspace ensures a seamless experience. Our tankless systems are designed for efficiency, but they still require specific environment checks to function at peak performance.
Measuring Your Under-Sink Space
While our tankless reverse osmosis installation footprint is significantly smaller than traditional units—saving up to 70% of your cabinet area—it is still vital to verify your dimensions.
- Width and Depth: Ensure there is enough clearance for the unit and the integrated waterway connections.
- Height: Check that you have room to access the “Twist-and-Pull” filters for future 3-second replacements.
- Accessibility: Choose a spot that allows you to easily view the LED indicators or smart display.
Confirming Power and Water Access
To improve your water quality with a sink faucet water filter system that features real-time TDS monitoring, you need two primary utility connections:
- Cold Water Line: Locate the shut-off valve on your cold water supply. This is where the feed water adapter (T-valve) will be installed.
- Electrical Outlet: Our high-flow systems require a standard 110V power outlet under the sink to run the internal booster pump and the smart faucet electronics.
Getting Your Workspace Ready
Clear out all household cleaners and items from the cabinet to give yourself ample room to work. I recommend keeping an adjustable wrench, a screwdriver, and a towel nearby. Laying a towel down at the base of the cabinet protects your surfaces when you first tap into the cold water line. Having a clean, organized space prevents lost components and speeds up the assembly of your new filtration hub.
Step-by-Step: How to Install Your Under Sink Water Filter System
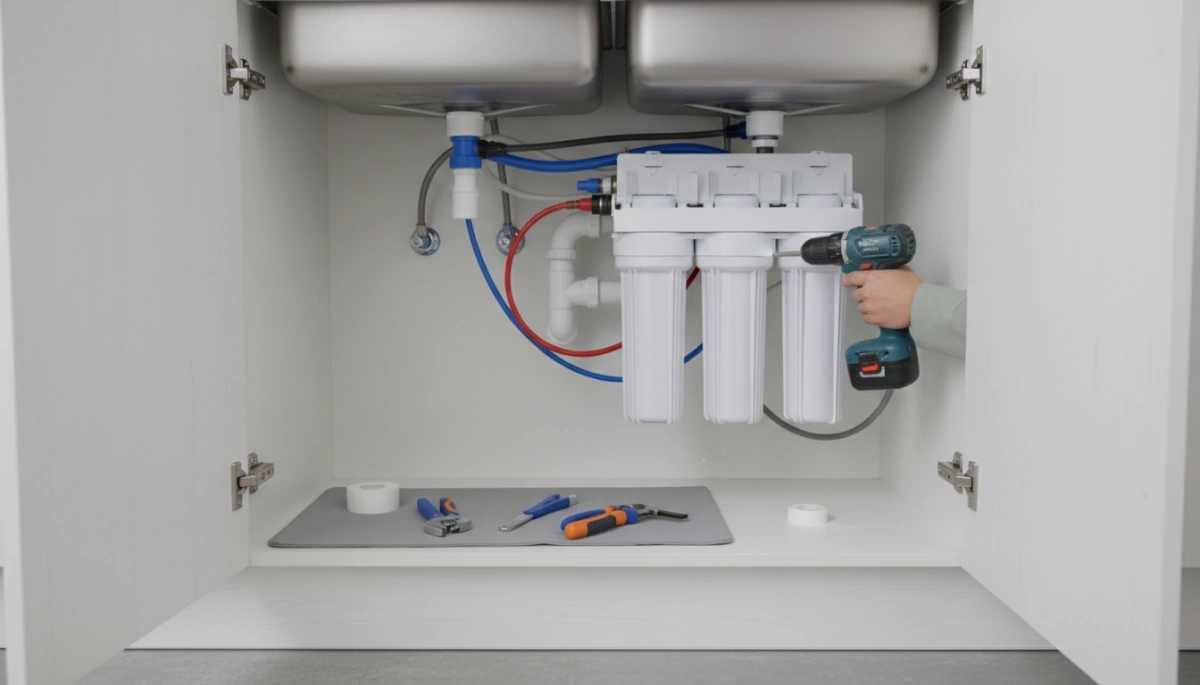
Installing our tankless RO system is designed to be a straightforward DIY project. Because we use an integrated waterway design, we have eliminated most of the messy internal plumbing, reducing the risk of leaks and making the under sink RO system setup much faster than traditional models.
Mounting the Tankless Unit
Start by placing the main system housing in your cabinet. Unlike old-fashioned systems with bulky tanks, our compact design saves up to 70% of your under-sink space.
- Positioning: Ensure the unit is close enough to the cold water valve and an electrical outlet.
- Accessibility: Place it where you can easily reach the front panel to utilize the tool-free filter replacement feature later.
Connecting the Feed Water Adapter
Locate your cold water line and shut off the supply.
- Disconnect the existing hose from the shut-off valve.
- Attach our feed water adapter (T-valve) to the valve.
- Connect the sink’s faucet hose to the top of the T-valve.
- Firmly push the white tubing into the quick-connect fittings on the side of the T-valve to provide the system with source water.
Installing the Smart Faucet
Our smart faucet with TDS display requires a standard 1-inch hole in your sink or countertop. Understanding the principle behind installing a water purifier on a faucet ensures a secure fit.
- Feed the power cord and the water tube through the hole.
- From underneath, tighten the mounting nut to secure the faucet.
- Connect the faucet’s power cable to the matching port on the back of the RO unit to enable real-time monitoring.
Plugging in the Color-Coded Tubing
We use color-coded RO tubing to take the guesswork out of the DIY water filter install. Simply match the colors to the ports on the back of the machine:
- White Tube: Connects the feed water adapter to the “Input” port.
- Blue Tube: Connects the smart faucet to the “Filtered” port.
- Red Tube: Connects the “Drain” port to the drain saddle installation on your sink’s drain pipe.
Setting Up the Drain Saddle and Power
Attach the drain saddle to your sink’s drain pipe, ideally above the P-trap. Drill a small hole in the pipe, align the saddle, and tighten the screws. Insert the red tubing into the quick-connect fitting on the saddle. Finally, plug the power adapter into a standard GFI outlet. Once powered, the system’s internal pump will prime, and the smart display will light up to indicate it is ready for the initial flush. This efficient setup supports our 2:1 pure to drain ratio, ensuring you get the most out of your water with minimal waste.
First Run: Startup and Initial Flushing
Once the connections are secure, we need to prepare the system for daily use. This is a critical step in the reverse osmosis flushing process to ensure your water is crystal clear and the filters are fully primed.
Priming Filters and Clearing Carbon Fines
When you first turn on the water, don’t be alarmed if the flow looks dark or cloudy. This is simply the “carbon fines” washing out of the brand-new filters.
- Open the Smart Faucet: Let the water run for 20–30 minutes.
- Clear the Air: You might hear some sputtering as air is pushed out of the integrated waterway.
- Observe the Flow: The water will transition from dark to perfectly clear as the filters stabilize.
Checking TDS Levels and Performance
One of the best features of our under-sink reverse osmosis filtration system is the real-time feedback. Instead of guessing, you can watch the smart faucet with TDS display to monitor the purification progress.
- Watch the Numbers: Initially, the TDS (Total Dissolved Solids) reading may be high.
- Wait for the Drop: As the flushing continues, you’ll see the TDS numbers plummet, indicating the 0.0001-micron membrane is effectively stripping away contaminants.
Final Leak Check and Flow Test
While the system is flushing, I always perform a thorough under sink leak prevention check. This ensures the high-pressure environment of a high flow RO system is completely contained.
- The Paper Towel Test: Run a dry paper towel over every quick-connect tubing fitting and the feed water adapter connection. Even a single drop will show up immediately on the paper.
- Inspect the Drain: Ensure the drain saddle installation is silent and leak-free while the system rejects concentrated wastewater.
- Verify Flow Rate: You should see a steady, fast stream of pure water, reflecting the efficiency of the tankless design.
Troubleshooting Your Under Sink Water Filter System Installation
Even with the best under sink RO system setup, you might run into minor hiccups. Most of these are quick fixes that don’t require a plumber. We focus on ensuring your tankless reverse osmosis installation runs smoothly from the first glass of water.
Solving Low Water Flow Issues
If your high flow RO system isn’t hitting the mark, it’s usually a simple restriction.
- Check the T-Valve: Ensure the cold water line T-valve is fully open.
- Inspect the Tubing: Look for any kinks in the color-coded RO tubing. A sharp bend can drastically reduce pressure.
- Filter Alignment: Verify that the filters are fully seated. Our twist-and-pull design is easy, but if it’s not locked, the integrated waterway won’t allow full flow.
Under Sink Leak Prevention
Leaks are almost always found at the connection points. To stop a drip before it starts:
- Square Cuts: Use a tube cutter to ensure every piece of tubing has a perfectly flat end. Slanted cuts are the #1 cause of leaks in quick-connect fittings.
- Proper Seating: Push the tubing into the fitting until you feel it hit the backstop.
- Teflon Tape: Use Teflon tape on the feed water adapter connection threads to ensure a watertight seal.
Understanding Pump Sounds and TDS Readings
Since our systems are tankless, they use an internal pump to provide on-demand filtration.
- System Humming: A light humming or vibration is completely normal while the water is running. This is the pump working to maintain a 2:1 pure to drain ratio.
- TDS Fluctuations: When you first turn on your smart faucet with TDS display, the reading might be slightly higher for a few seconds. This is normal. The reverse osmosis flushing process clears the membrane quickly, and the TDS will drop to its purified level within moments.
Troubleshooting the Drain Saddle
If you hear a gurgling sound, check your drain saddle installation. Ensure the drain hole is aligned perfectly with the tubing. If the hole is off-center, it can cause backup noise or slow the DIY water filter install performance. If everything is aligned and you still hear noise, ensure the drain line is as short and straight as possible.
Maintaining Your Under Sink Water Filter System
We’ve simplified the upkeep process so you can focus on enjoying pure water. After the initial under sink RO system setup, our smart monitoring technology handles the heavy lifting by tracking performance for you.
Tool-Free Filter Replacement
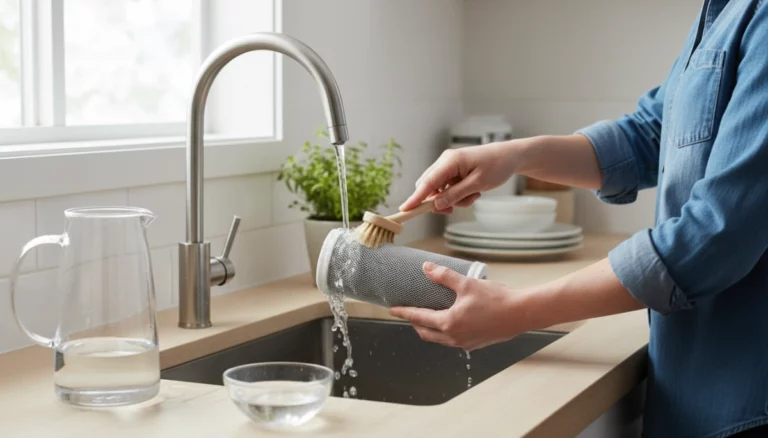
Our signature Twist-and-Pull design allows you to change a filter in just 3 seconds. There is no need for specialized tools, bulky wrenches, or even turning off the main water supply.
- Quick Swaps: Simply twist the old cartridge out and snap the new one in.
- No Mess: The integrated waterway prevents leaks during the replacement process.
- Optimal Performance: Timely changes maintain the high-flow rate and your system’s 2:1 pure to drain ratio.
Monitoring Filter Life and TDS
The smart faucet with TDS display acts as your system’s command center. It provides real-time data on your water quality and visual indicators for filter health. You don’t have to guess when it’s time for maintenance; the system alerts you exactly when a specific stage needs attention. Keeping your under-sink water filter maintained ensures you consistently benefit from 0.0001-micron filtration precision.
- Real-time TDS: See the total dissolved solids levels every time you turn on the tap.
- Color-Coded Alerts: Built-in LED indicators change color to signal when a filter is approaching the end of its life.
- Long-Lasting RO: Our high-capacity RO membranes are designed for durability, often lasting up to 24 months depending on local water quality.
Your Top Questions About Under-Sink RO Systems
Navigating the specifics of a DIY water filter install often leads to a few common questions regarding home compatibility and system performance. We’ve rounded up the essential facts to help you finalize your under sink RO system setup with confidence.
Can I install this without drilling?
Many homeowners worry about damaging their countertops. If your sink already has a pre-drilled hole for a soap dispenser or a sprayer, you can usually use that for the smart faucet with TDS display. If no hole exists, you will need to drill a small hole through the sink or countertop. For renters, some choose to install the faucet through the cabinetry or use a temporary mounting solution, though a standard countertop install is the most stable and professional method.
Do I really need an electrical outlet?
Yes. Unlike old-fashioned, bulky tank systems that rely solely on water pressure, our high-performance tankless reverse osmosis installation requires a standard 110V outlet. This power is necessary to run the internal pump that ensures a high flow RO system experience—delivering a cup of water in just seconds—and to power the real-time TDS monitoring sensors on the faucet.
Understanding wastewater and flow rates
A common concern with RO technology is the amount of water sent to the drain. Our systems are engineered for maximum efficiency, featuring a 2:1 pure to drain ratio. This means for every two cups of pure water produced, only one cup is discarded, which is significantly more eco-friendly than traditional systems that often waste four times as much as they keep.
- Flow Rate: Expect a fast, steady stream of up to 800 GPD (Gallons Per Day).
- Filtration: The 0.0001-micron membrane removes contaminants while maintaining high-speed delivery.
- Waste Efficiency: The integrated waterway design ensures that every drop is processed with minimal loss.
If you are looking for specific regional variations or additional models, you can explore our options for a reverse osmosis water filter to see how these systems adapt to different household needs. Learning how to install under sink water filter system units is straightforward once you understand that modern tankless designs prioritize both space-saving and high-efficiency performance.