














The ‘Can I Clean It?’ Checklist: Identifying Your Filter Type
Before you grab a bucket and brush, we need to settle the debate on reusable vs. disposable filters. Not every cartridge is built for a scrub down. In fact, trying to wash the wrong type of media can destroy the micron rating integrity, letting contaminants slip right into your glass. Here is how to identify what you are working with and whether it can be saved.
Pleated and Sediment Filters: Rinsing Off Large Debris
If you are looking at a filter that resembles folded paper or fabric (pleated), you might be in luck. These are often designed as the first line of defense to catch sand, dirt, and rust.
- Washable: High-quality pleated polyester filters can often be rinsed carefully with a garden hose to remove surface muck.
- Not Washable: Spun polypropylene (melt-blown) filters—which look like solid white foam—are strictly disposable. Once they clog, the structure is compromised, and no amount of sediment filter backwashing will save them.
Ceramic Filters: Scrubbing the Outer Layer
Ceramic filters are unique because they work like a physical barrier. When the flow rate drops, it usually means the outer surface is coated in gunk.
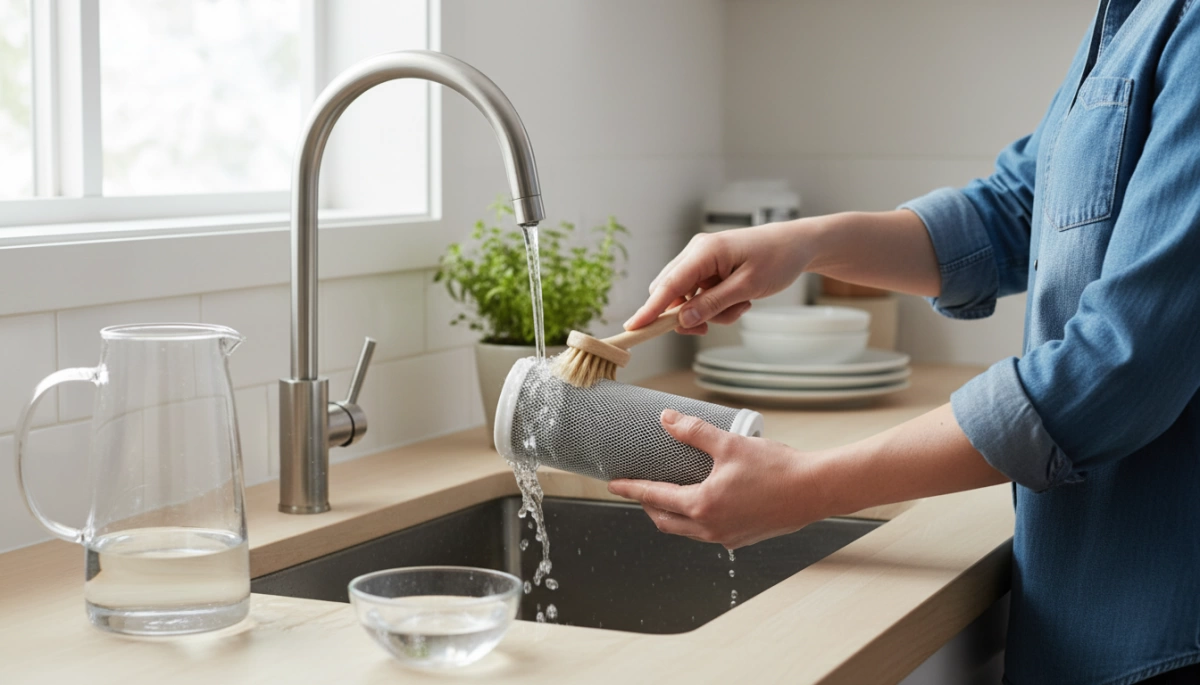
- The Fix: You can perform ceramic filter scrubbing using a soft scouring pad (never use soap!) under running water.
- The Goal: You are essentially peeling off the dirty outer layer to expose fresh pores underneath, restoring water flow.
Activated Carbon and Charcoal Filters: Why You Can’t Wash Them
This is the most common mistake I see. Activated carbon works by adsorption—trapping chemicals like chlorine and VOCs inside microscopic pores.
- The Hard Truth: You cannot “wash” chemicals out of carbon. Rinsing a carbon block only removes surface dust; it does not clear the internal pores.
- The Risk: Attempting to clean these can disturb the activated carbon block lifespan, potentially releasing trapped contaminants back into your water or creating a breeding ground for bacteria. When these are done, they are done.
Reverse Osmosis (RO) Membranes: Flushing vs. Scrubbing
The heart of our DripLife systems is the RO membrane, which filters down to 0.0001 microns. Because the pores are so tight, physical scrubbing is impossible and will instantly ruin the membrane.
- Modern Maintenance: Instead of manual cleaning, advanced systems use reverse osmosis membrane maintenance tech like auto-flushing.
- How It Works: Our systems automatically push water across the membrane surface to sweep away concentrated solids, preventing scaling without you ever touching the filter.
Essential Tools for System Sanitization
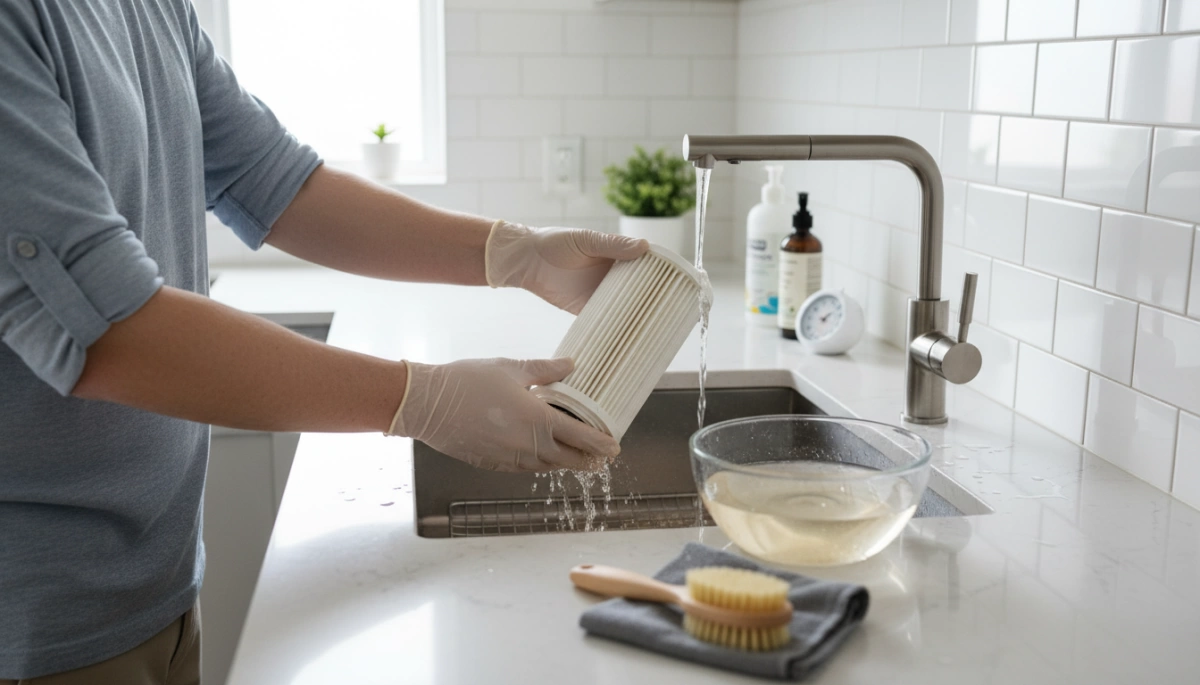
Before you shut off the water supply, you need to have the right gear ready. Attempting sanitizing filter housing without the proper tools can lead to contamination or damaged parts. Since different types of water purification methods utilize specific materials, always check your manual to ensure your chosen cleaner won’t damage the components.
Choosing the Right Cleaning Agents: Bleach vs. Vinegar
The debate usually comes down to what you are trying to remove: bacteria or mineral scale.
- Unscented Household Bleach: This is the gold standard for killing bacteria. A proper bleach sanitization cycle ensures that your housing is free from harmful pathogens. Use only plain, unscented bleach; the thick, splash-less, or scented varieties contain additives you don’t want in your drinking water.
- White Vinegar: If you are dealing with hard water deposits, a vinegar solution for water systems is your best bet. It dissolves calcium and magnesium buildup that bleach can’t touch. It is also a milder option if you are sensitive to chlorine fumes.
Required Hardware
Don’t use the same sponge you use for your dirty dishes. Keep a dedicated kit for your water system maintenance to ensure effective biofilm removal.
- Clean Buckets: Have a dedicated bucket for mixing your sanitizing solution.
- Soft-Bristled Brush: A clean bottle brush or a new soft sponge is essential for scrubbing the inside of the sump without scratching the plastic. Scratches can harbor bacteria later.
- Rubber Gloves: Protect your hands from the bleach solution and keep oils from your skin off the filter components.
- Food-Grade Silicone Grease: Essential for O-ring lubrication and care during reassembly.
Safety Warning: What to Avoid
Never use harsh industrial cleaners, solvents, or scented soaps. The chemicals in these products can be absorbed by the plastic housing or the new filter cartridge, leading to terrible tasting water or potential health risks. Stick to food-safe sanitizers to maintain the integrity of your water supply.
Step-by-Step: Cleaning a Whole House or Under-Sink Housing
Cleaning the actual housing unit is where the real work happens. Even if you are just swapping out a disposable cartridge, the sump (the container holding the filter) needs attention to prevent bacterial buildup. Here is the standard procedure for sanitizing filter housing effectively.
Step 1: System Depressurization and Water Shut-Off
Before you touch a wrench, you have to kill the water pressure. If you don’t, you will have a geyser in your kitchen or utility room.
- Turn off the water supply valve leading to the filter system.
- Open a nearby faucet downstream from the filter to drain excess water.
- Wait until the flow stops completely. This system depressurization makes unscrewing the housing much easier and safer.
Step 2: Removing the Housing Sump Safely
Place a bucket directly under the filter housing to catch spills. Slide your housing wrench up the sump and turn it to the left (counter-clockwise). If it is stuck, do not force it violently; use steady pressure to avoid cracking the plastic. Once loose, unscrew it by hand and carefully dump the old water and remove the filter cartridge.
Step 3: Soaking and Sanitizing Filter Housing
This is the most critical step for biofilm removal. You can’t just rinse it; you need to scrub it.
- Wash: Scrub the inside of the sump with warm water and unscented dish soap using a soft-bristled brush.
- Sanitize: Fill the housing 1/3 full of water and add about 1 tablespoon of unscented household bleach.
- Soak: If you have severe buildup, let the bleach sanitization cycle sit for 10–15 minutes.
- Rinse: Thoroughly rinse the housing with fresh water until the bleach smell is gone.
Regular maintenance is vital for protecting your plumbing and health, which reinforces key reasons why water filtration is crucial for maintaining a safe home environment.
Step 4: O-Ring Lubrication and Inspection
Never skip the O-ring. This small rubber seal prevents leaks. Take it out and wipe it clean. Inspect it for cracks or flattening. If it looks dry, apply a light coating of food-grade silicone grease.
- Warning: Do not use petroleum jelly (Vaseline). It causes the rubber to swell and eventually fail. Proper O-ring lubrication and care ensures a watertight seal without over-tightening the housing.
Step 5: Reassembly and System Flushing
Place your cleaned or new filter cartridge back into the sump. Screw the housing back onto the cap. Hand-tighten it first, then give it a tiny nudge with the wrench—do not over-tighten.
- Turn the water supply on slowly.
- Check for leaks immediately.
- Keep the downstream faucet open for 5 minutes to flush out air pockets and any loose carbon fines.
- This process aids in flow rate restoration and ensures your water tastes fresh immediately.
Specialized Maintenance: RO Systems and Modern Tech
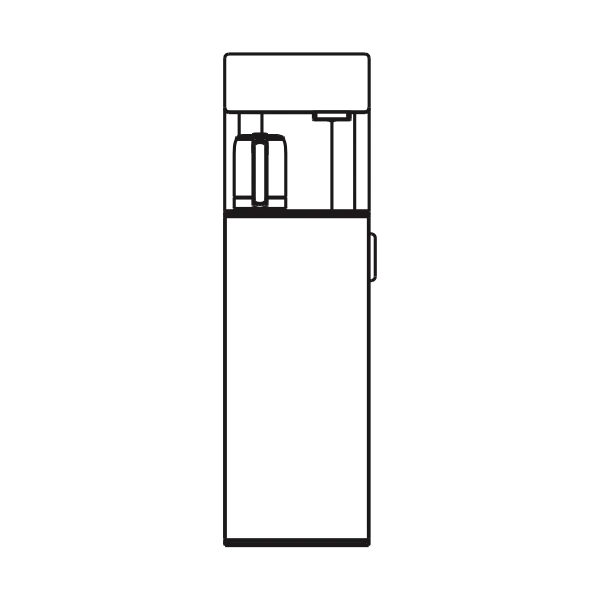
When dealing with high-end filtration, specifically Reverse Osmosis (RO), the rules of “cleaning” change drastically compared to simple sediment filters. Modern technology has shifted the focus from manual scrubbing to automated maintenance and strategic component replacement.
Understanding Self-Cleaning and Backwashing Mechanisms
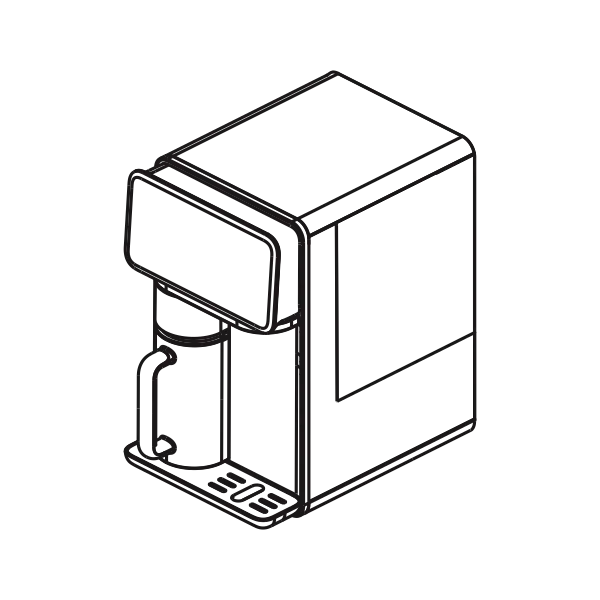
Most advanced systems, including our tankless models, feature automatic Tankless RO system flushing. You don’t need to take the system apart to clean the membrane; the unit does it for you.
- Auto-Flush: Upon startup or after dispensing water, the system forces water across the membrane surface to sweep away concentrated contaminants.
- Prevents Clogging: This automated process prevents scaling and extends the life of the filter without you lifting a finger.
- Smart Indicators: Instead of guessing when to clean, rely on the system’s filter life indicators to tell you when the internal flush is no longer sufficient and a replacement is due.
Sanitizing the RO System Lines and Tank
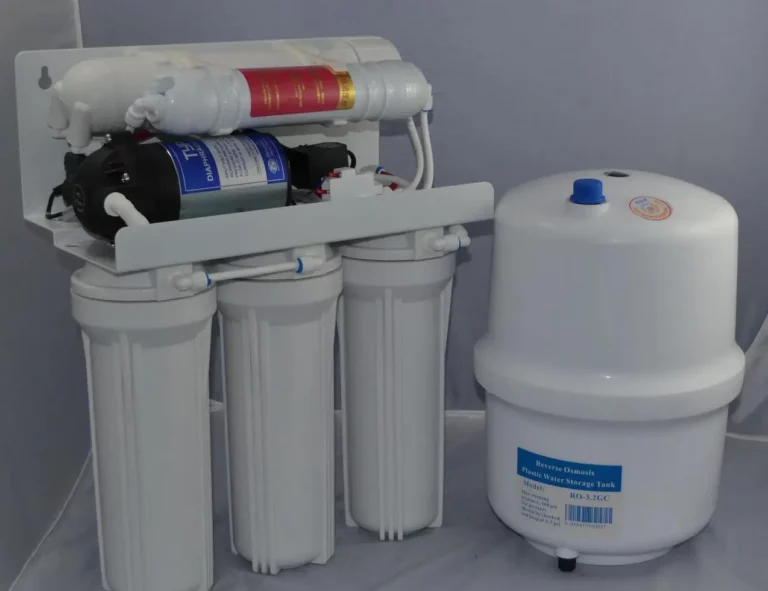
If you are still using a traditional RO system with a storage tank, hygiene is a major concern. Stagnant water in a tank can lead to Biofilm removal issues, requiring a tedious Bleach sanitization cycle annually. You have to disconnect the tank, pour in a bleach solution, and let it sit—a hassle that often leads people to neglect maintenance.
This maintenance burden is exactly why many US households are upgrading to a countertop reverse osmosis water filter or a tankless under-sink model. By removing the tank entirely, we eliminate the primary breeding ground for bacteria, making the system virtually maintenance-free aside from standard filter swaps.
Why Scrubbing RO Membranes Damages Micron Rating Integrity
It is critical to understand that Reverse osmosis membrane maintenance is strictly hands-off regarding the filter material itself.
- Precision Layers: RO membranes filter down to 0.0001 microns.
- Irreversible Damage: Any attempt at manual surface scrubbing or using abrasive brushes will destroy the Micron rating integrity.
- Result: Once the delicate layers are scratched, the filter allows harmful contaminants like lead and PFAS to pass through.
If the flow rate drops significantly despite the auto-flush feature, it is not a sign to clean—it is a sign to replace.
When ‘Cleaning’ Fails: Signs You Must Replace
There comes a point where scrubbing, rinsing, or backwashing simply won’t cut it. Understanding how a water purifier works helps you recognize when a filter has reached its absolute limit and requires immediate swapping to maintain safety. If you are trying to extend the life of a filter beyond its capacity, you risk bacterial breakthrough and re-contamination.
Here is your checklist for integrity testing post-cleaning to decide if it’s time for a replacement:
- Check the TDS Reading: On modern systems like our tankless RO models, you can rely on the integrated smart display. If the TDS (Total Dissolved Solids) reading remains high even after a flush cycle, the RO membrane’s rejection rate has failed.
- Persistent Pressure Drops: If you notice a significant reduction in water speed and flow rate restoration is impossible even after rinsing a pre-filter, the internal pores of the high-durability filter media are permanently clogged with sediment.
- Taste and Odor Breakthrough: Activated carbon blocks act like sponges. Once they are full, they cannot adsorb any more chlorine or VOCs. If the water tastes like tap water or has a funky smell, the filter is exhausted.
The Hygienic Advantage of Twist-and-Pull Designs
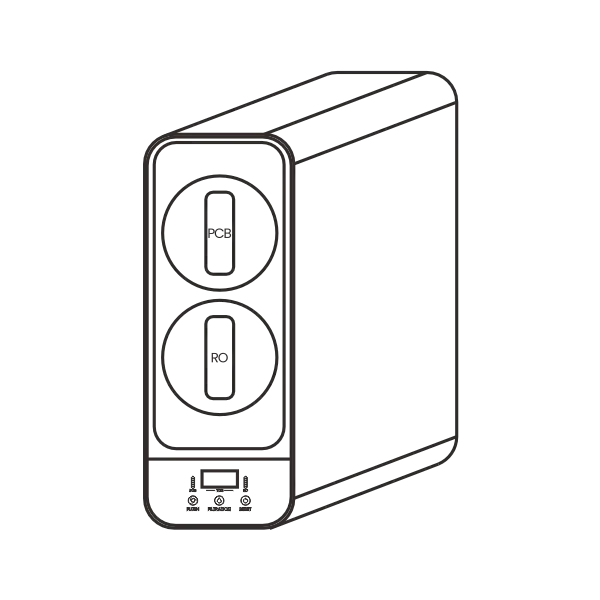
Traditional housings require messy scrubbing, bucket soaking, and O-ring lubrication. We moved away from that. Our systems utilize a sealed twist-and-pull replacement design that takes about three seconds to change. This is the ultimate eco-friendly maintenance option because it eliminates the need for harsh cleaning chemicals and ensures you never have to touch the dirty filter media directly. Instead of worrying about biofilm removal inside a permanent housing, you simply snap in a fresh, sterile cartridge and get back to drinking pure water.
FAQ: Common Cleaning Myths Debunked
There is a lot of bad advice floating around on the internet about maintenance. When you are figuring out how to clean water filter systems properly, it is crucial to separate fact from fiction to avoid ruining your equipment or compromising your water quality.
Can I clean a water filter in the dishwasher?
Absolutely not. While it might seem convenient, putting filter housings or cartridges in the dishwasher is a recipe for disaster. The high heat can warp the plastic housing, leading to leaks and structural failure. Furthermore, dishwasher detergent leaves behind chemical residues that you definitely do not want in your drinking water. Stick to hand washing with mild soap or specific sanitizing agents to maintain micron rating integrity.
Does vinegar kill mold in filters effectively?
Vinegar is a fantastic cleaner for removing mineral buildup and scale, but it is not the most effective agent for killing mold or heavy bacteria. A vinegar solution for water systems is best used for descaling. If you are dealing with visible mold or need thorough biofilm removal, a diluted bleach solution is the industry standard for sanitizing filter housing. Bleach ensures a deeper kill rate for pathogens that vinegar might miss.
How often should I sanitize the filter housing?
You should sanitize the housing sumps every single time you replace the filter cartridge. Whether you have a standard sediment unit or need to understand how a reverse osmosis water filter works to maintain it, the rule remains the same:
- Standard Filters: Every 3–6 months (during cartridge swap).
- RO Systems: Every 6–12 months (during stage replacement).
Skipping this step allows bacteria to grow inside the sump, meaning your new clean filter sits in a dirty housing, defeating the purpose of the replacement.