













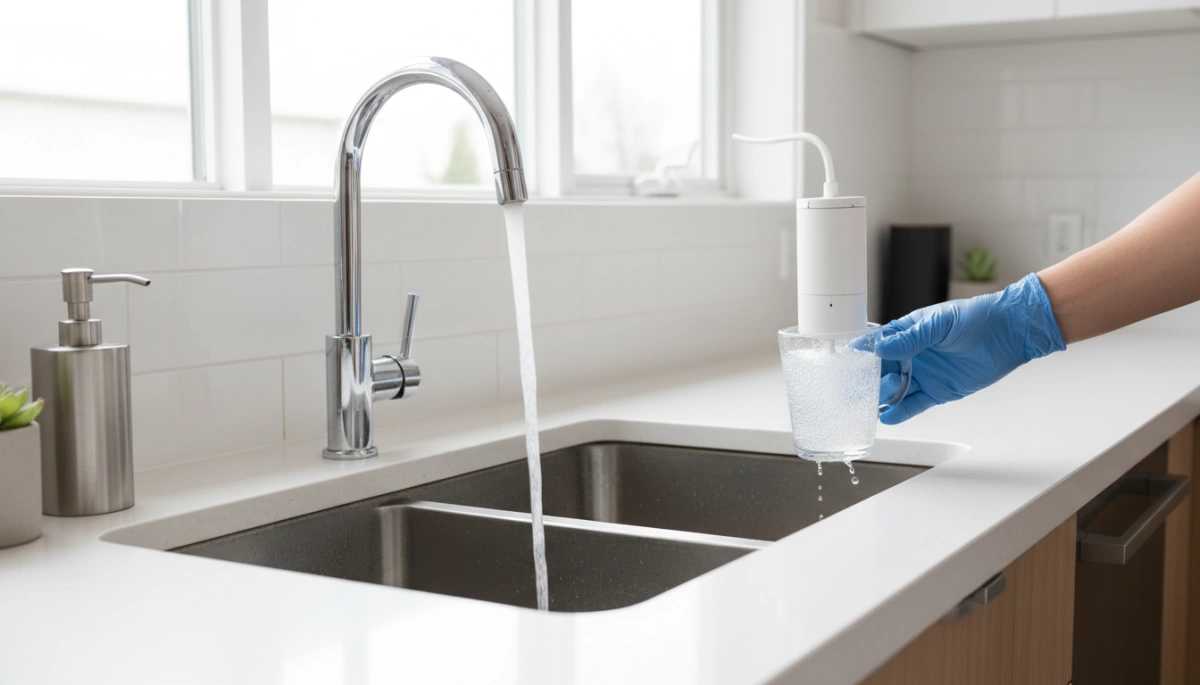
Just installed a new faucet water filter and now your water looks cloudy…or you’re seeing tiny black particles in the stream?
You’re not alone.
Right after installation, every faucet-mounted filter needs a proper initial flush procedure to rinse out carbon fines, trapped air, and factory preservatives. Skip this step and you’ll likely notice odd tastes, gray water, sputtering flow—or worse, you’ll start doubting if the filter actually works.
As a manufacturer, we see this all the time. The good news?
A simple, 5-minute initial rinse for your new faucet filter is usually all it takes to:
- Activate the faucet filter cartridge for full performance
- Clear out carbon fines in the faucet filter and other harmless residues
- Fix cloudy water after installing a faucet filter before your first sip
In this guide, you’ll get a clear, step-by-step startup procedure for your faucet filter—so you know exactly how long to run it, what “normal” looks like during the first use faucet filter flush, and when your water is truly ready to drink.
Why the Initial Flush Is Essential
Why Flush a Faucet Water Filter Before First Use
When you install a new Driplife faucet water filter, the initial flush procedure after faucet filter installation is not optional—it’s part of the setup. I always treat that first use faucet filter flush like commissioning a new on-tap filter: it makes sure the cartridge is safe, stable, and ready to deliver clean-tasting water.
How Flushing Removes Carbon Fines and Residues
Inside the cartridge, the main filter media is usually activated carbon. During manufacturing and shipping, tiny loose particles—called carbon fines in a faucet filter—break free. A proper initial rinse new faucet filter:
- Washes out loose carbon dust and manufacturing residues
- Helps remove black particles from the faucet filter before you drink
- Clears anything that could cause early clogging or off-tastes
That first use water flush is basically a cleaning pass for the inside of the filter.
Preventing Cloudy Water, Black Specks, and Bad Taste
If you skip or rush the startup procedure faucet filter, you’ll often see:
- Cloudy water after installing faucet filter
- Black specks from carbon fines in the faucet filter
- A mild “carbon” or chalky taste
A full post-installation faucet filter rinse clears this out so what comes from the faucet is clear, clean, and neutral-tasting.
Eliminating Trapped Air and Sputtering
New faucet cartridges trap air. Without a proper faucet water filter flush, you can get:
- Sputtering or pulsing flow
- Bursts of cloudy water as air pockets release
Running water through in filtered mode helps prime the faucet mounted filter, pushing out trapped air so the flow stabilizes and the filter conditioning process completes.
Activating and Conditioning the New Cartridge
The initial flush faucet filter step also “wakes up” the media. Steady cold water flow:
- Fully wets the carbon and any other filter layers
- Lets the media expand and settle into its working state
- Starts the filter conditioning faucet mount process so performance matches the specs on the box
You’re essentially activating the faucet filter cartridge so it can capture chlorine, sediment, and other common tap-water contaminants as designed.
Health, Safety, and Performance Benefits
Taking the flush time for a new faucet filter seriously pays off immediately:
- Health: You’re not drinking residual dust, loose carbon, or factory debris.
- Safety: The filter is operating within its normal flow and pressure range after the membrane priming steps.
- Performance: Taste, clarity, and flow line up with what you expect from a properly commissioned faucet water purifier.
I always tell customers: that first startup flushing procedure is part of the product, not just a tip. Do it once, do it right, and your Driplife faucet filter starts strong from day one.
What To Expect During The Initial Flush Faucet Filter Procedure
When you run the first use faucet filter flush on a new Driplife unit, a few things can look “off” at the start. Most of this is completely normal for an initial flush faucet filter commissioning guide, as the cartridge settles in and extra carbon is rinsed out.
Cloudy Water After Installing Faucet Filter
During the first faucet water filter flush, you might see cloudy or milky water. This usually comes from tiny air bubbles trapped in the new cartridge and in your plumbing, not from contamination. As the startup flushing procedure continues, those bubbles rise and clear out. In most homes, this temporary haze should fade within a few minutes of steady flow and won’t affect safety once the initial rinse new faucet filter process is complete.
Black Particles From Carbon Fines In Faucet Filter
Seeing small black specks in the water right after installation can be surprising, but those are typically harmless carbon fines in the faucet filter. They come from the activated carbon media inside the cartridge. The whole point of the first use water flush is to remove black particles faucet filter users often notice in the first minute or two. As long as the specks disappear after a proper filter conditioning process, it’s considered normal performance for a new faucet mount system.
Mild Carbon Odor Or Slightly Slimy Feel
During the early startup procedure faucet filter flushing, you may notice a mild “carbon” or “mineral” smell, or the water might feel slightly slick. That’s just the fresh media hydrating and finishing its membrane priming steps. This should fade quickly as you continue running cold water in filtered mode. If you prefer very neutral-tasting water, you can extend the flush time for new faucet filter cartridges an extra minute or two until you’re happy with the taste and feel.
How Long Temporary Discoloration Should Last
Any temporary discoloration, cloudiness, or visible carbon fines should clear well within the recommended initial setup protocol. In most city homes, this is usually within a few minutes of continuous flow, or roughly the first gallon or so. If your tap water has naturally high minerals or you’re using advanced filtration technology similar to our sink faucet with filter systems, you may see a bit more initial activity, but it should still drop off quickly once the cartridge is fully conditioned.
Normal Vs. Unusual Post‑Installation Faucet Filter Rinse
A normal post-installation faucet filter rinse looks like this:
- Cloudy water or carbon fines that fade after a short faucet water filter flush
- Mild, temporary carbon odor that disappears with more flushing
- Stable flow and no new particles once the filter conditioning faucet mount process is done
Stop and check your setup if you see unusual signs, such as:
- Strong, persistent discoloration that doesn’t improve
- Oily film, rust-colored streaks, or non-carbon debris
- Sudden pressure drops, leaks around the housing, or loud rattling
If any of these show up, shut the water off, recheck all connections, and confirm the cartridge is seated correctly before restarting the commissioning guide faucet filter procedure.
Step-by-step initial flush procedure for Driplife faucet filters
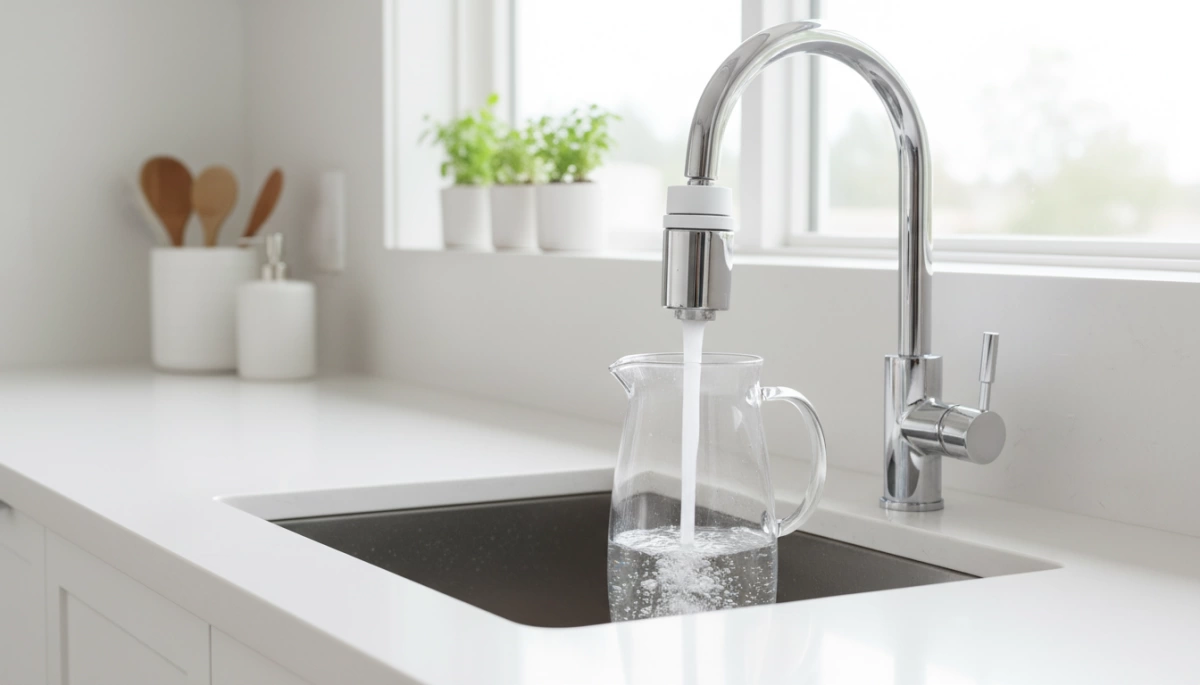
1. Confirm installation and check for leaks
Before you start the faucet water filter flush, I always recommend a quick safety check:
- Make sure the adapter is tightened firmly to the faucet, but not over-tightened.
- Confirm the faucet mounted filter is seated and locked per the manual.
- Turn on cold water only in regular (unfiltered) mode and look for any drips around the joints.
- If you see leaks, stop and re-seat the O‑rings or adapter before doing the initial rinse on the new faucet filter.
2. Use cold water only to protect the cartridge
For the first use faucet filter flush, always use cold water:
- Hot water can damage or deform the filter media, especially carbon blocks and membranes.
- Keep the handle fully in the cold position during the entire startup procedure for the faucet filter.
- This protects the cartridge and keeps the filter conditioning process stable from day one.
3. Switch to filtered mode to prime the faucet mounted filter
Once everything looks dry and tight:
- Turn on cold water to a moderate flow, not full blast.
- Flip the diverter valve to filtered mode to start priming and activating the faucet filter cartridge.
- This first pass begins flushing out carbon fines in the faucet filter and trapped air.
4. Recommended flush time for first use
For most Driplife faucet filters, a good flush time for a new faucet filter is:
- About 3–5 minutes of continuous cold water in filtered mode, or
- Roughly 2–3 gallons (8–12 liters) as a volume-based reference.
If you notice a lot of black particles or cloudy water after installing the faucet filter, extend the flush by a couple of extra minutes to complete the initial setup faucet water purifier conditioning.
5. How to know when the water is ready to drink
During the post-installation faucet filter rinse, watch for:
- Water changing from slightly cloudy to crystal clear.
- Black specks (carbon fines) gradually disappearing.
- Flow becoming smooth with no more heavy sputtering.
Once the water runs clear, with no visible particles and no gray or black tint, the startup flushing procedure is usually complete and the water is ready for a taste test.
6. Test taste and flow after startup procedure
To confirm the faucet water filter flush did its job:
- Turn the faucet off, wait 10–15 seconds, then turn cold water back on in filtered mode.
- Take a small sip and check for a clean, neutral taste with no “dusty” or chalky feel.
- Confirm the flow rate is steady and not extremely slow or pulsing.
If you’re also using a separate system like a countertop water filter pitcher for backup or extra capacity, a solution such as our countertop water filter pitcher system pairs well with a properly primed faucet filter.
7. Final leak check and fixture inspection
After the initial rinse new faucet filter procedure:
- Inspect all joints, adapters, and the diverter for any signs of dripping in both filtered and unfiltered modes.
- Gently move the faucet side to side and make sure the faucet mounted filter stays secure.
- If everything is dry, stable, and the water tastes clean, your Driplife faucet filter is fully commissioned and ready for daily use.
How Long To Flush A New Faucet Filter
When you install a new Driplife faucet filter, the initial flush time matters for taste, safety, and performance. I design our startup flushing procedure to be simple and clear, so you’re not guessing at the sink.
Typical Flush Time For New Faucet Filter Cartridges
For most Driplife faucet water filter flush routines:
- Plan to run only cold water in filtered mode for 3–5 minutes.
- As a volume reference, that’s usually about 2–3 gallons (7.5–11 liters).
- During this first use faucet filter flush, don’t drink the water yet; this is conditioning only.
Adjusting Flush Time Based On Water Clarity And Carbon Fines
Every home is different, so I always recommend watching the water:
- If you still see cloudy water after installing the faucet filter or black particles from carbon fines, keep flushing in 1–2 minute intervals.
- Stop the faucet, wait 30–60 seconds, then restart to help purge trapped air and loose carbon fines in the faucet filter.
- Once the water runs clear, with no visible specks or haze, the initial rinse new faucet filter step is complete.
Higher-Capacity And Multi-Stage On-Tap Filter Guidelines
Larger or multi-stage faucet water purifier setups usually need a longer conditioning flush:
- High-capacity or multi-stage models may require 5–10 minutes of continuous cold-water flushing.
- Think in terms of volume: 3–5 gallons (11–19 liters) is a good baseline for premium multi-stage cartridges.
- More media inside the cartridge means more carbon fines and trapped air to remove during the filter conditioning process.
If you use a whole-home system or smart RO in addition to your faucet unit, logic similar to the automatic flush timing in smart RO filters applies: more media and more stages usually mean more startup flushing.
Using Gallons Or Liters As A Flush Reference
To keep things simple, you can use this quick guide for the initial flush faucet filter:
- Compact faucet mount: ~2 gallons (7.5 L)
- Standard faucet mounted filter: ~3 gallons (11 L)
- Higher-capacity / multi-stage: ~3–5 gallons (11–19 L)
If your flow rate is around 1 gallon per minute, just match the time: 3 minutes ≈ 3 gallons, and so on.
Why Some Faucet Water Purifier Setups Need Longer Conditioning
Certain setups naturally need more time for commissioning:
- Very new plumbing or recent work can push extra sediment into the filter, requiring a longer faucet water filter flush.
- Older pipes may release more particles at first, so the faucet water purifier may need an extended first use water flush to stabilize.
- Multi-layer media (carbon + specialty resins + membranes) often need extra membrane priming steps to reach full performance.
If the water looks better but not perfect after the recommended time, add another 2–3 minute cycle in filtered mode.
When To Repeat The Initial Rinse Procedure
You don’t usually need to redo the whole startup procedure faucet filter flush, but it’s smart in a few cases:
- After cartridge replacement or if you remove and reinstall the filter head.
- After weeks of non-use, like coming back from vacation, to freshen the system.
- If you notice repeated carbon fines in the faucet filter, visible black specks, or a temporary change in taste.
In those situations, repeat a shorter version of the initial setup protocol: run cold water in filtered mode for 1–3 minutes until the water is clear and stable again.
Tips for Best Results and Common Mistakes to Avoid
Always use cold water for the initial flush
For the initial flush faucet filter procedure, I always tell customers to use cold water only. Cold water protects the filter media, helps with proper filter conditioning on the faucet mount, and keeps the cartridge from wearing out early. It also makes the startup flushing procedure more stable and predictable.
Avoid hot water that can damage the cartridge
Never run hot water through your new faucet water purifier during the first use water flush—or at all, unless the manual clearly says it’s safe. Hot water can:
- Warp or crack the filter housing
- Release trapped carbon fines in the faucet filter
- Clog or damage delicate filter layers
If someone in your home accidentally uses hot water, stop, let everything cool, and repeat the initial rinse new faucet filter procedure with cold water.
Don’t drink during the first use faucet filter flush
During the first use faucet filter flush, don’t drink the water yet. This phase is about:
- Removing carbon fines in the faucet filter
- Rinsing out manufacturing dust and packing air
- Stabilizing taste, flow, and clarity
Let the faucet water filter flush run for the full recommended time before you take that first sip.
If cloudy water or black specks don’t go away
Cloudy water after installing a faucet filter or a few black particles at the start of the post-installation faucet filter rinse are usually normal. If it continues after the recommended flush time:
- Run another short flush time for new faucet filter cartridges (1–3 minutes)
- Confirm you installed the cartridge fully and the O-rings are seated
- Check for damaged parts or loose fittings
If you still see heavy cloudiness or constant black specks, stop using the filter and reach out to us for help.
Quick flush after long periods of non-use
If you haven’t used the faucet for a few days—like after a weekend away—do a quick faucet water filter flush:
- Run cold water in filtered mode for 15–30 seconds
- This clears sitting water, refreshes taste, and reconditions the media
This simple habit keeps your faucet filter tasting clean and consistent.
Reusing flush water to cut waste
To reduce water waste during the initial setup faucet water purifier process, you can safely reuse the flush water for non-drinking tasks, such as:
- Watering houseplants or outdoor plants
- Cleaning sinks, tubs, or surfaces
- Soaking dishes before washing
I design these systems to balance performance with real-life use, just like how we optimize water quality for home appliances in our coffee maker water filter line. Reusing flush water is a simple way to treat your home and your budget well at the same time.
Maintenance After the Initial Flush
Routine faucet water filter flush habits
After the first use faucet filter flush, I always keep a simple routine:
- Run a 10–20 second cold-water faucet water filter flush before the first drink of the day or after the faucet hasn’t been used for several hours.
- If the water has been sitting all weekend or longer, do a 30–60 second initial rinse new faucet filter style flush to freshen the cartridge and clear any stagnant water.
These quick flushes keep the filter conditioning faucet mount media active and help maintain cleaner taste.
Replacement schedule for faucet mounted filter cartridges
For most Driplife faucet filters used on typical U.S. municipal water:
- Plan to replace the faucet mounted filter cartridge every 3–6 months, or sooner if you hit the rated gallon/liter capacity.
- Heavy use households, well water, or older plumbing may need shorter intervals because the cartridge loads up faster.
Sticking to a regular schedule keeps performance close to what you’d expect from advanced systems that use multi-stage filtration logic like those in tankless RO filtration setups.
Monthly checks: leaks, flow rate, and water quality
Once a month, I recommend a quick inspection:
- Leaks: Check around the diverter, faucet threads, and housing seams while water is running.
- Flow rate: Notice if filtered flow is slower than usual; compare to unfiltered tap flow.
- Water quality: Look for cloudy water after installing faucet filter behavior returning, new odors, or off taste.
Any change in these three areas is your early warning that the startup procedure faucet filter condition is drifting and the cartridge may be near the end of its life.
Handling slow flow or carbon fines in faucet filter
If you see slow flow or repeated carbon fines in faucet filter output:
- First, do a longer faucet water filter flush (2–3 minutes cold water) to purge trapped air or loose carbon.
- Check for kinks, clogged aerators, or debris caught at the inlet screen.
- If black particles keep showing up and don’t clear with a longer post-installation faucet filter rinse, the cartridge media is likely saturated or damaged and should be replaced.
Replace vs. re-flush a problem faucet filter cartridge
Use this simple rule:
- Re-flush if: the issue is mild cloudiness, small carbon specks, or temporary off taste right after long non-use.
- Replace if: slow flow is persistent, you can’t remove black particles faucet filter output after extended flushing, or taste/odor stays off even after a proper filter conditioning process.
Don’t push a questionable cartridge; it defeats the purpose of the filter.
Getting model-specific help from Driplife
If you’re unsure about flush time for new faucet filter cartridges, replacement intervals, or you keep seeing unusual water changes, reach out to Driplife support with your exact model. We can confirm:
- Correct how to prime faucet mounted filter steps
- The right commissioning guide faucet filter for your setup
- Whether you’re due for a new cartridge or just a longer first use water flush cycle
When in doubt, I’d rather you ask and run your system by the book than guess and live with so-so water.