


















You might think swapping out the cartridge is the end of your maintenance routine…
But if you aren’t addressing the Reusable Filter Housing, you’re only doing half the job.
As a water filtration manufacturer, I’ve seen firsthand how neglected sumps become hidden reservoirs for biofilm and sediment, compromising the very water you’re trying to purify.
Real system longevity isn’t just about the filter media; it’s about the integrity of the hardware holding it.
In this guide, you’re going to get a professional-grade Standard Operating Procedure (SOP) for cleaning, sanitizing, and inspecting your filter housings.
From proper O-ring maintenance to safe depressurization protocols, this is the exact process we recommend to prevent leaks and ensure hospital-grade hygiene.
Let’s get to work.
Why Housing Maintenance is Non-Negotiable
At Driplife, we have spent over 15 years in R&D and manufacturing, producing hundreds of thousands of water purification units annually. We know that a high-performance filter cartridge is only half the equation. The Cleaning and Maintenance of Reusable Filter Housings is the unsung hero of long-term water quality. Neglecting the housing defeats the purpose of filtration, potentially turning a purification system into a breeding ground for the very contaminants you are trying to remove. To protect the integrity of our 4-in-1 purification systems and ensure the “healthy living” standard we promise, maintenance must be a priority.
Stop Biofilm and Bacteria Growth
It is a harsh reality that even the most advanced filtration systems can develop issues if the hardware isn’t maintained. Stagnant water and trapped organic matter can eventually create a slick, slimy layer inside your filter sump known as biofilm. Biofilm prevention in water filters is critical because once this colony establishes itself on the housing walls, it can release bacteria downstream, bypassing the filter media entirely. While we design our housings with smooth, food-grade materials to resist accumulation, regular housing sanitization is the only way to guarantee that the water remains as pure as the day the system was installed.
Prevent Scale and Mineral Buildup
Our under-sink systems are engineered to deliver a robust flow rate of up to 5.2L/min. However, hard water minerals do not just disappear; they accumulate. Scale buildup removal is essential because calcium and magnesium deposits can adhere to the interior surfaces of the housing. Over time, this rough buildup does two things:
- Restricts Flow: It narrows the pathways, reducing that optimal 5.2L/min output.
- Damages Seals: Mineral deposits can harden around O-ring grooves, compromising the watertight seal and leading to leaks.
Check for Structural Integrity
We implement strict online inspection protocols and quality control in our 60,000-square-foot facility to ensure every unit is flawless before shipping. Once installed, however, the housing is under constant hydraulic pressure. Regular maintenance sessions are the perfect opportunity to inspect for stress cracks, thread wear, or UV damage. A housing designed for a 2000-gallon cycle life is durable, but it requires a watchful eye. Catching a hairline fracture during a cleaning session is far better than discovering a flood under your sink later.
Preparation and Safety Protocols
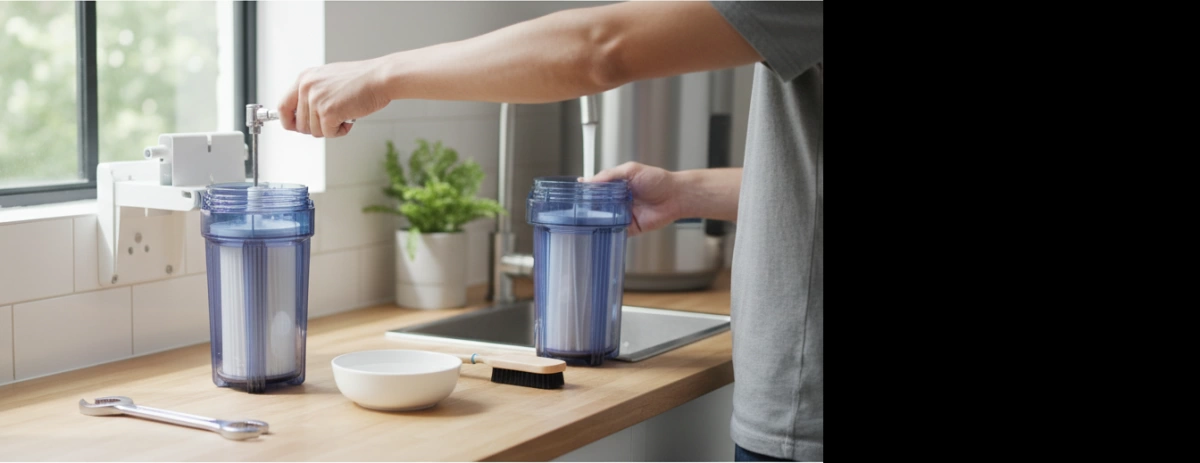
Before you start disassembling any filtration hardware, establishing a safe workspace is critical. We design our systems with strict quality standards, but improper handling during maintenance can compromise the structural integrity of the unit or cause unnecessary leaks. A few minutes of prep work ensures your system continues to deliver that 5.2L/min flow rate without issues.
Gather the Right Tools
You don’t need a full mechanic’s kit, but having the specific tools for water filtration prevents damage to the housing threads and O-rings. Avoid using pipe wrenches or pliers, which can warp the plastic. Instead, have these items ready:
- Housing Wrench: Ensure you have the correct size for sump pump wrench usage to apply even torque.
- Clean Bucket: To catch water trapped in the housing (usually 1-2 liters depending on the model).
- Non-Abrasive Scrubber: A soft sponge or microfiber cloth is essential. Never use steel wool on plastic sumps.
- Food-Grade Silicone Lubricant: Vital for reseating O-rings later.
- Sanitizing Agent: Unscented household bleach or an NSF-certified sanitizer.
Check Chemical Compatibility
Not all cleaning agents belong in a water filter. Our housings are built for durability, but they can be sensitive to harsh solvents. Detergent compatibility is a major factor in preventing stress cracks over time. Avoid petroleum-based cleaners, strong acids, or scented soaps that leave a residue. Using non-abrasive cleaning agents like mild dish soap for the initial scrub and a diluted bleach solution for sanitization is the industry standard. This careful approach protects the long-term value and cost of water filter for home setups by preventing premature material failure.
Depressurize the System Correctly
Attempting to open a pressurized housing is dangerous and often impossible without breaking the wrench. You must perform water system depressurization before touching the housing.
- Shut Off Water Supply: Turn off the feed valve under the sink or the main line.
- Open the Faucet: Turn on the filtered water faucet to drain the remaining water and relieve line pressure.
- Engage the Relief Button: If your unit is equipped with one, press the red button on top of the housing cap. This pressure relief valve operation vents any trapped air, making it significantly easier to unscrew the sump.
Step-by-Step Cleaning Procedure
Proper maintenance is the only way to ensure the longevity of your filtration hardware and the purity of your water. Based on our experience manufacturing high-volume units, skipping steps here usually leads to leaks or contamination down the line. We recommend following this strict protocol to maintain the hygiene of your system.
Step 1: Disassemble the Housing
Before touching the housing, shut off the water supply and open the faucet to relieve line pressure. If your unit has a pressure relief button, press it to ensure safe water system depressurization. Place a bucket underneath the unit to catch spillage. Using your housing wrench, slide it up the sump body and turn counter-clockwise (“lefty-loosey”) to loosen it. Proper sump pump wrench usage is critical here—apply steady force to avoid cracking the plastic. Once loose, unscrew it by hand and carefully remove the old cartridge.
Step 2: Mechanical Cleaning of the Sump
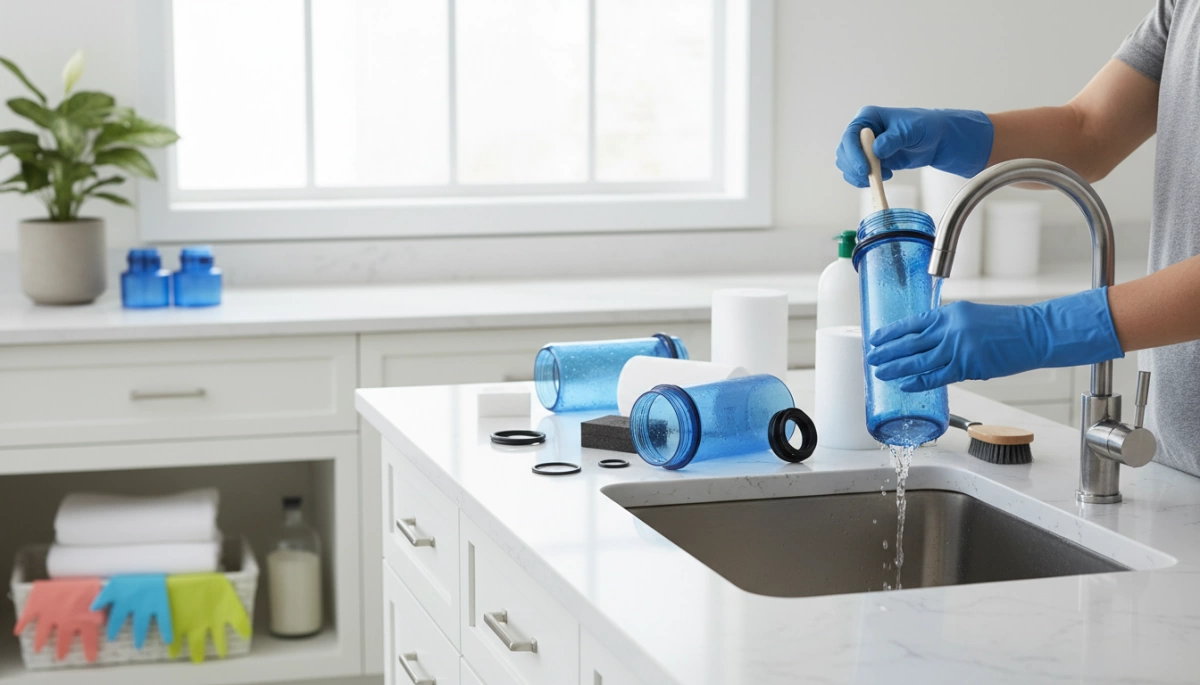
Pour out the remaining water and discard the old filter. Wash the inside of the housing with warm water and a mild, unscented dish soap. It is vital to use non-abrasive cleaning agents; harsh scrubbers like steel wool can create micro-scratches where bacteria love to hide. Use a soft sponge or a long-handled bottle brush to scrub the bottom and sides. Pay special attention to housing thread cleaning at the top of the sump, as debris here is a common cause of leaks. For users with a compact ultrafiltration faucet water filter, ensure you are reaching the deepest crevices of the smaller housing.
Step 3: Sanitization Soak and Scrub
Cleaning removes dirt, but sanitizing kills the invisible threats. For effective filter housing sanitization, fill the sump 1/3 full with water and add about 1 tablespoon of household bleach (unscented, 5.25%) or use an NSF-certified sanitizer. Scrub the interior again with this solution, ensuring it contacts every surface, including the O-ring groove. If you are dealing with a complex kitchen faucet with filtration setup, ensure the sanitizing solution does not splash onto sensitive chrome finishes. Let the solution sit for at least 15 minutes to ensure total biofilm prevention.
Step 4: Rinse Thoroughly
After the soak, discard the sanitizing solution. Rinse the housing extensively with clean, cold tap water. You need to flush out every trace of soap and bleach to prevent chemical aftertastes. Continue rinsing until there is absolutely no scent of bleach remaining. Once rinsed, place the housing on a clean paper towel to air dry while you prepare the O-ring.
The Critical Component: O-Ring Maintenance
The rubber O-ring is the primary barrier preventing water from spraying out of your filter system. While the housing itself is durable, the O-ring is a wear item. Neglecting this small seal is the single most common cause of leaks in filtration hardware.
Inspect O-Rings for Damage
Every time you open a housing for a filter change, you must perform a visual and tactile check of the O-ring. You are looking for cracks, nicks, or “flat spots” where the rubber has been compressed too long and lost its roundness. If the rubber feels hard or brittle rather than pliable, it is time to swap it out. This step is especially critical for larger whole house water filter setups, where higher operating pressures can easily exploit minor seal defects.
Lubricate with Food-Grade Silicone
Friction is the enemy of a watertight seal. A dry O-ring can bunch up, twist, or tear when you tighten the sump back onto the head. Always apply a thin, even coat of food-grade silicone lubricant before reassembly. The goal is to make the rubber shine, not to glob it on.
- Critical Warning: Never use petroleum jelly (Vaseline). Petroleum-based products cause rubber to swell, stretch, and eventually disintegrate. This protocol applies strictly to both standard cold water units and specialized hot water filter systems, as material compatibility is non-negotiable for safety.
Seat the O-Ring Properly
Before putting the O-ring back, perform a quick housing thread cleaning and wipe out the groove in the sump. Even a single grain of sand or hardened scale can prevent a proper seal. Place the lubricated O-ring into the groove and run your finger around the circumference to ensure it is seated flat. If the O-ring is twisted or pinched during tightening, the housing will fail immediately upon repressurization.
Reassembly and System Restart
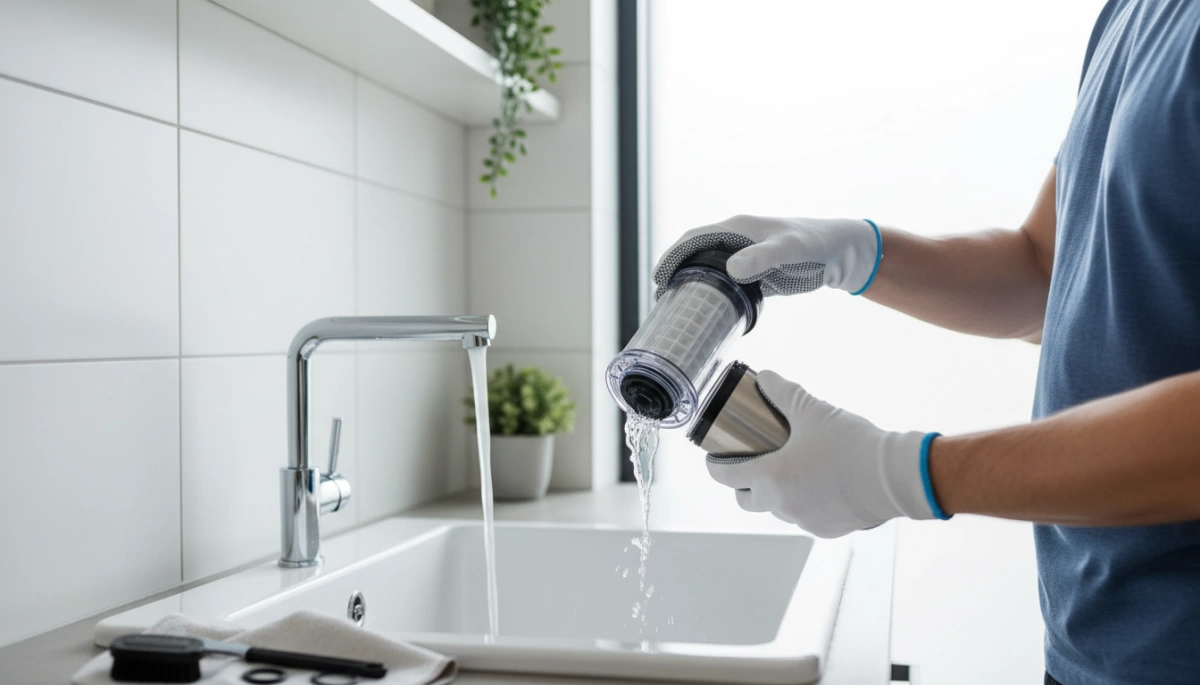
Putting your system back together correctly is just as critical as the cleaning process itself. We design our housings with precise threading to ensure a secure seal, but improper reassembly can lead to stress cracks or leaks. The goal here is to restore the system to its optimal operating pressure without compromising the structural integrity of the unit.
Hand-Tightening vs. Wrenching
One of the most common mistakes we see is overtightening the sump. The watertight seal comes from the O-ring being properly compressed, not from cranking the housing down as hard as possible.
- Hand-Tighten First: Screw the housing onto the cap by hand until it stops. This ensures the threads are aligned and prevents cross-threading.
- The Quarter-Turn Rule: Once hand-tight, use your housing wrench to turn it just 1/8 to 1/4 of a turn further.
- Avoid Excessive Force: Proper sump pump wrench usage is about leverage, not brute strength. Overtightening makes the housing difficult to remove during the next filter cartridge replacement cycle and can permanently damage the threads.
Run the Flush Cycle
Before returning the unit to regular service, you must flush the system to remove any trapped air and lingering cleaning residue. Air locks can restrict flow, preventing the system from reaching its rated 5.2L/min output.
- Open the Faucet: Ensure the dispensing faucet is open before turning the water supply back on.
- Restore Water Pressure: Slowly open the feed water valve. You will hear air hissing out of the faucet.
- Flush for 5 Minutes: Let the water run until the stream is steady and clear. This clears out air pockets and settles the cartridge.
If you are reassembling a complex multi-stage unit, reviewing the basics of how to install an under sink water filter can help ensure you have the flow direction and tubing connections aligned correctly.
Perform the Dry Paper Towel Test
Visual inspections aren’t always enough to catch slow leaks. We recommend a simple “dry paper towel test” to act as a basic form of hydrostatic leak testing.
- Wipe the housing exterior completely dry.
- Place a clean, dry paper towel directly under the sump connection.
- Check the towel after 15 minutes and again after one hour.
Any moisture on the paper indicates a micro-leak, usually caused by a pinched O-ring or debris on the sealing surface. Catching this early prevents water damage to your cabinetry.
Troubleshooting Common Housing Issues
Even with a solid maintenance routine, you might run into a few hiccups when dealing with the cleaning and maintenance of reusable filter housings. Don’t panic; most issues have simple fixes that don’t require calling a plumber. Here is how I handle the most annoying problems that pop up during the process.
Removing a Stuck Housing
This is the most common headache. If the sump won’t budge, it is usually because the system is still pressurized or the threads are seized from scale buildup.
- Depressurize First: Ensure the red pressure relief button is held down until the hiss stops. You cannot unscrew a pressurized housing.
- Leverage: Proper sump pump wrench usage is critical here. Slide the wrench up as high as possible on the sump for better grip.
- Heat Trick: If it is still stuck, run a towel soaked in hot water over the thread area of the housing to expand the plastic slightly.
- Clean the Threads: Once off, perform thorough housing thread cleaning to ensure it doesn’t happen next time. If you constantly battle grit in the threads, you might be dealing with heavy iron sediment, which often requires a specialized water filter for rusty water to protect your downstream equipment.
Diagnosing Persistent Leaks
If you see water dripping after reassembly, stop immediately. Leaks rarely fix themselves.
- Check the O-Ring: 90% of the time, the O-ring is pinched, dry, or dirty. Take it out, wipe it down, and re-lubricate.
- Inspect for Cracks: Look closely at the sump and the cap. Hairline cracks from over-tightening are a common culprit.
- Hydrostatic Leak Testing: After fixing the seal, open the water supply slowly and watch for beads of water. Place a dry paper towel under the unit; if it puckers, you still have a leak.
Fixing Cloudy Water After Cleaning
Seeing milky or cloudy water right after maintenance can be alarming, but it is usually harmless.
- Trapped Air: The cleaning process introduces air into the lines. These micro-bubbles make the water look cloudy but will clear up if you let the glass sit for a minute.
- Loose Carbon: If you replaced a carbon cartridge, you might see gray water initially.
- Solution: Run the faucet for 5 to 10 minutes to flush out air pockets and carbon fines. This is a standard part of water filtration troubleshooting.
FAQ: Cleaning and Maintenance of Reusable Filter Housings
How often should I clean my filter housing?
You should perform a thorough cleaning every single time you replace the filter cartridge. For most of our under-sink and countertop systems, this aligns with a maintenance schedule of roughly every 6 to 12 months, depending on your water usage and quality.
If you notice a drop in flow rate or an unusual taste before the rated 2000-gallon cycle is up, open the housing immediately. While understanding what carbon filters remove from water helps you gauge cartridge life, the housing itself needs attention if you spot any slime or discoloration inside the sump. Regular cleaning prevents biofilm prevention issues that can compromise the entire system.
Can I use vinegar instead of bleach for sanitizing?
Yes, but they serve different purposes. White vinegar is excellent for scale removal and breaking down mineral deposits that can jam threads or clog ports. However, for true housing sanitization, unscented household bleach (diluted properly) or an NSF-certified sanitizer is more effective at eliminating bacteria.
- Vinegar: Best for removing hard water stains and calcium buildup.
- Bleach: Best for killing bacteria and ensuring a sterile environment.
- Warning: Never mix these two chemicals. Check detergent compatibility with your specific housing material—standard polypropylene sumps handle mild bleach solutions well, but always rinse thoroughly.
When is it time to replace the O-ring?
We recommend inspecting the O-ring during every filter change. You don’t necessarily need to replace it every time, but you must follow a strict O-ring replacement guide based on visual condition. Replace the O-ring immediately if you notice:
- Cracks or nicks in the rubber.
- The shape has become flattened (squared off) rather than round.
- It feels dry or brittle even after applying food-grade silicone lubricant.
A compromised O-ring is the leading cause of leaks in pressurized systems. It is a low-cost component that protects your facility from significant water damage.
What do I do if the housing is cracked?
Replace it immediately. Do not attempt to patch, glue, or tape a cracked filter housing. Even a hairline fracture can fail catastrophically under standard operating pressures.
During your structural inspection, look closely at the bottom of the sump and the threaded neck. If you find damage, take the system offline and install a new housing. Our manufacturing process involves strict online inspection to ensure durability, but accidental drops or freezing temperatures can damage even the toughest materials. Safety is always the priority over a temporary fix.